
Pinterest Pin Creator – Promote Amazon and Zazzle
Free Templates for Social Media Marketing
NiftyToolz Social Media Templates
*Last updated: May 4, 2020
If you’re interested in creating product image collages to share on social media sites, you’ll want to check out this FREE online software tool. There’s nothing to download. You will use a URL and thus, can use this tool from any location. Yay!
Highton Ridley, a long time Zazzle POD seller and coder has created numerous tools to help Print on Demand sellers with their marketing.
This article will go over how to quickly create free images that can be used by ANY business. You do not have to be a Zazzle or POD seller. We’re only going to cover ONE PART. I’ve screenshot the parts to focus on and provided instructions for you. You can explore more tool options later.
Terms to know -> Read through these to get your feet wet. The screenshots will show you the basic navigation that we will use. (You can ignore all the other elements for now. Just focus on these areas.)
Product Stager – This is the name for the online software we will be using. The tool is 100% Free and is found at this URL Click here to open it in a new tab. and come back here 🙂
Stage: The stage refers to the upper half of the Product Stager software (the top part of your screen). Think of the Stage like one in a concert. It’s where the band would be. It’s where the elements will go to put on a show (or in our case, to finalize our project). This area is also used for editing. There are Edit tools located to the left of the stage.

Pre-Staging Area: This is below the Stage and will hold the images you wish to work with. You can use this tool with image URLs from anywhere. I am going to use Amazon URLs for my example. (You will also find a video at the bottom of this post where Highton shows how to use a bookmarklet to grab images from Print on Demand (POD) platforms like Redbubble.)
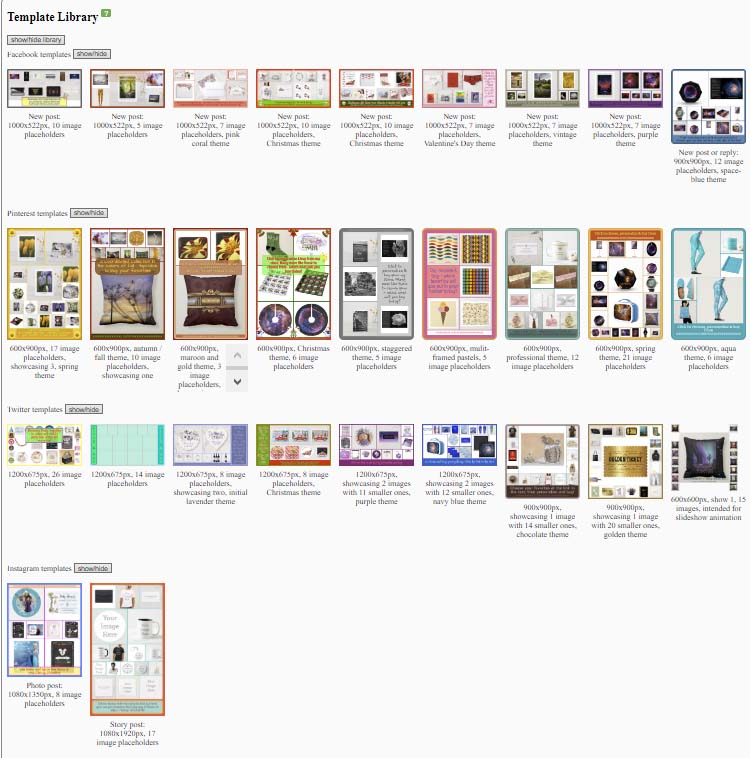
Template Library: This is the area where you will choose a template style for your Images. These are the layouts. There are more than I show you here and they are 100% customizable. Currently, the software supports Facebook (top row), Pinterest (second row), Twitter (third row) and Instagram (bottom row). These are especially wonderful for people who have never used a graphics program.
NiftyToolz Social Media Images – Hands-on Example
Time for you to try it.
Let’s make a Pinterest pinnable image using Amazon images for books about successful entrepreneurs.
Go to the Tool URL Click here if you didn’t open it yet.
BEFORE STARTING – Use your keyboard and click “Control” key and the “-” minus key a few times. This will zoom OUT your viewpoint and make your Stage area larger. Alos, this step will hopefully helps make sure no working elements get hidden under any instructional text.
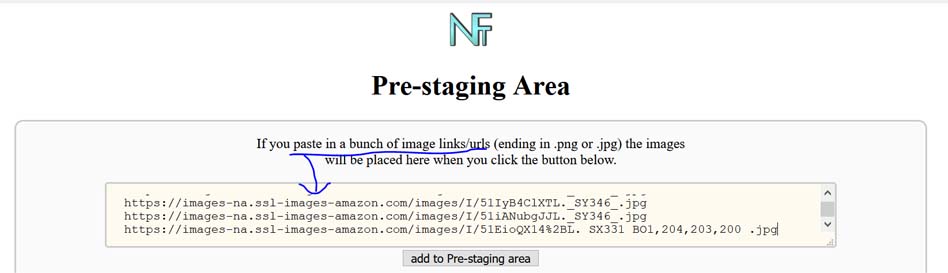
Step 1 – Collect Image URLs and Add to Pre-Staging
The first step is to grab the URLs for the images you wish to use. For this example, I’ve done this step for you. So, you can just copy/paste this list into the “PRE-STAGING” area of the tool. You must enter it in bulk. You cannot enter 1 URL at a time.
https://images-na.ssl-images-amazon.com/images/I/51S2iJN3DYL._SX342_.jpg
https://images-na.ssl-images-amazon.com/images/I/51syLx8a5kL._SX331_BO1,204,203,200_.jpg
https://images-na.ssl-images-amazon.com/images/I/51kPqoJIZqL._SX342_.jpg
https://images-na.ssl-images-amazon.com/images/I/51-s9Jx9mzL._SY346_.jpg
https://images-na.ssl-images-amazon.com/images/I/51IyB4ClXTL._SY346_.jpg
https://images-na.ssl-images-amazon.com/images/I/51iANubgJJL._SY346_.jpg
DO NOT USE URLs with a % sign in them. They will not work. For example, don’t use this:
https://images-na.ssl-images-amazon.com/images/I/51EioQX14%2BL._SX331_BO1,204,203,200_.jpg
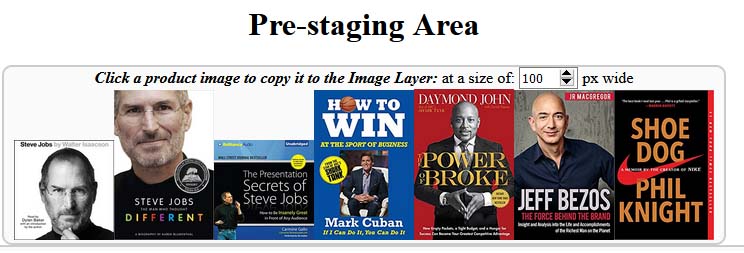
AFTER you paste these URLs into the Pre-Staging Area box, click “Add to Pre-Staging Area” and now, your pre-staging area should be populated with the Amazon thumbnails like this image below:
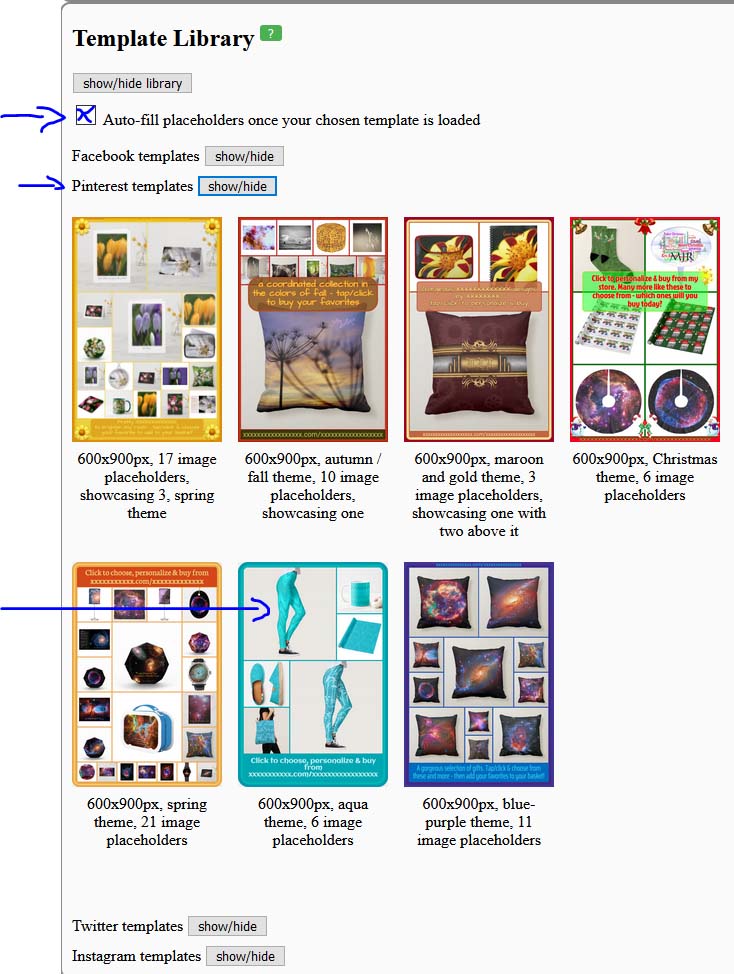
Step 2 – Choose Your Social Media Template
Scroll down to open the Template Library. BE SURE TO TICK THE BOX THAT SAYS “Auto-fill placeholders once your chosen template is loaded.”
– Expand the Pinterest options and choose and click on a template. (I chose the turquoise one.)
When clicked, the tool will show you 2 pop-up messages, click ok on both. The tool automatically takes your image thumbnails from Pre-Staging and pre-fills the boxes of the template you chose. Scroll up to the Stage to see the results.
Step 3 – Delete and/or Add Extra Text
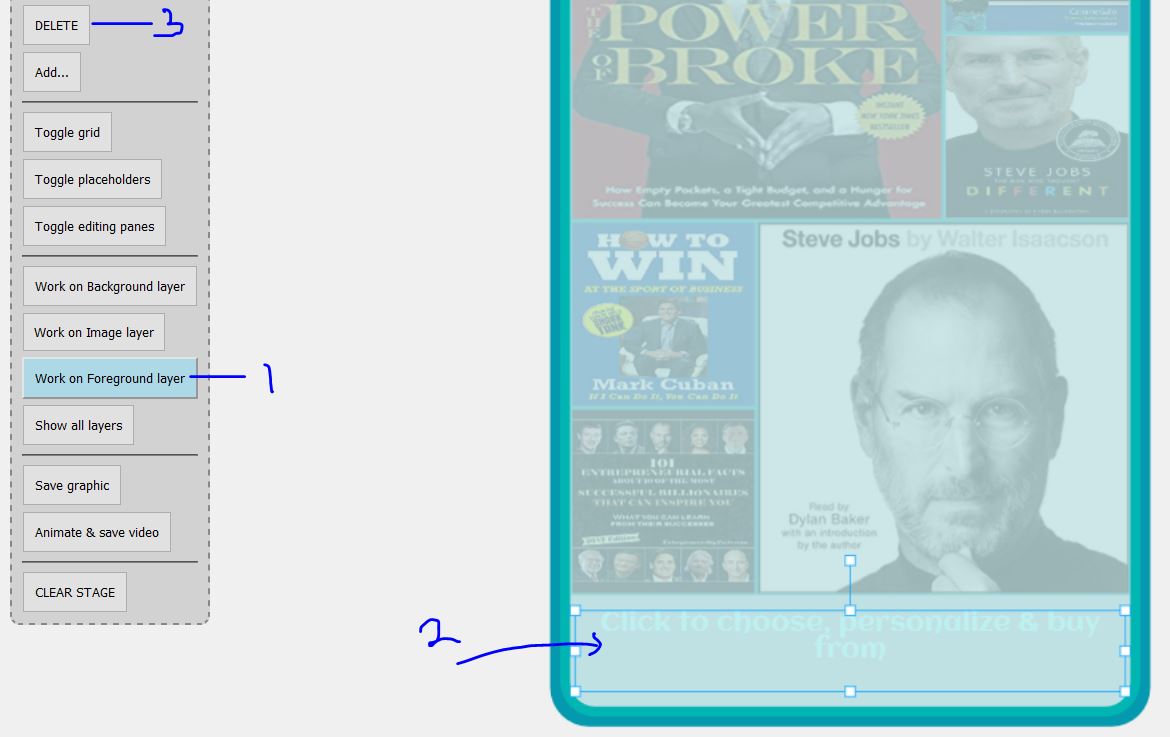
Next we want to delete text from the template that doesn’t apply. This is one reason that I chose to use Amazon images, so you can see how to Edit. The template was designed for Zazzle, another POD site and has pre-text populated. We want to remove this. Click “Work on Foreground Layer” (labeled #1), click the Text Area to select the unwanted Text (labeled #2) and click the “Delete” option (labeled #3) in the image below.
Step 4 – Save and Post to Social Network
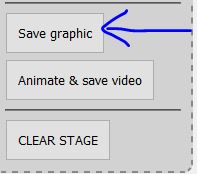
If you don’t want to do any further customization, you can use the menu to the left of the Stage to click “Save Graphic” and it’s ready to post with your favorite landing page link on any social media site. After you saved the image. Take a second to explore more! Click the “Animation and Save Video” to check out the video option. (Note: Most videos will need to be converted before posting to social media. Join the NiftyToolz Facebook group to learn more. Click Here)
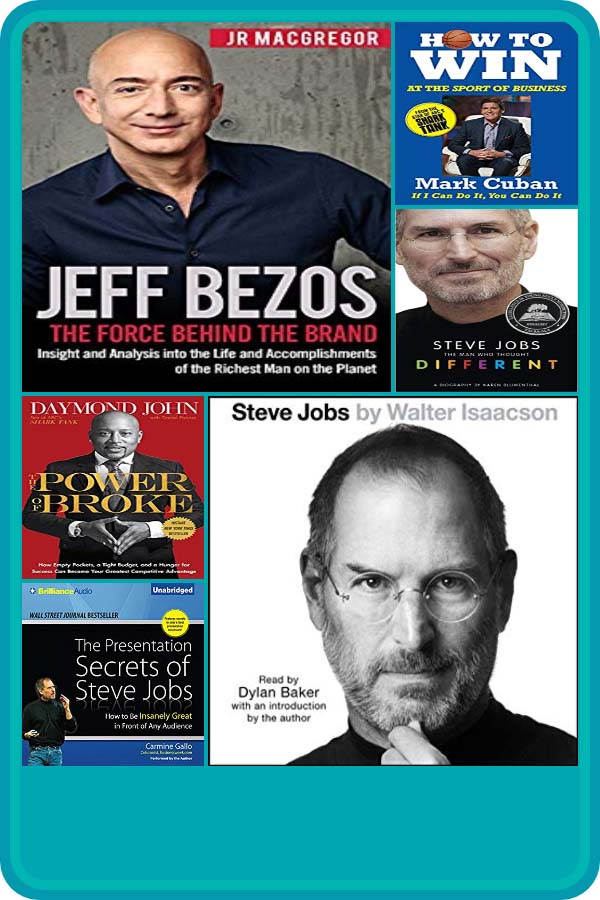
Here is my final image. Yours may look different because the images are randomly placed in the template slots. They do stretch a bit to fit the different slots, so some images are slightly distorted. But for the speed of this FREE Tool, you can see that it is neat and ready to be pinned to social media. In this case, Pinterest would be the best choice because we chose a size that works well with Pinterest. I would probably add some custom text into that empty box space too (instead of just deleting the old text), but I wanted to keep this exercise as simple as possible.
Extra Tips
TIP ONE: If you don’t know how to grab Amazon images, this is how you do it. Visit the URL you wish to promote. Place your cursor over the Amazon image, right click, and choose “copy image location” as shown in this screenshot.
– Paste all your URLs into notepad or MS Word or some place to gather them all together. You must add them all in bulk.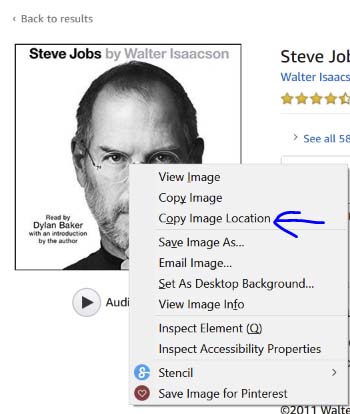
TIP TWO: If you use Redbubble, watch this video to see how you can use a bookmarklet and grab your Redbubble images super fast.
[ebgVideo v=1]
Stay in touch with me for the latest tips and honest reviews – Sign up for the newsletter:
.
Related Posts


About The Author
Kids and Money Today
Tracy Foote Author | Writer | Entrepreneur | Internet Marketer "I'm enthusiastic about helping people in business and finance — so they can have money available for college, retirement, and travel."